Improve Print Alignment and Quality with These Steps
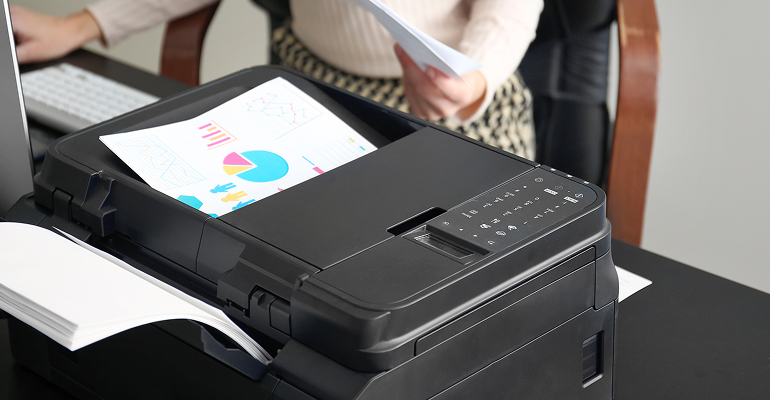
Improve Print Alignment and Quality with These Steps
Blurry text, uneven lines, or colors that seem slightly off? These are all signs your printer’s alignment or print quality needs attention. Luckily, these issues are easy to identify and even easier to fix at home with a few guided steps.
In this blog, we’ll walk you through how to diagnose and correct alignment and quality problems—no special tools or expert help needed.
Common Print Alignment and Quality Issues
- Uneven lines or misaligned text
- Faded or patchy colors
- Overlapping or double-printed characters
- Blurry images or off-center prints
- Colors not printing correctly
Why This Happens
- Misaligned printhead after cartridge installation
- Dirty or clogged nozzles
- Low-quality or incompatible paper
- Outdated printer settings or software
- Ink running low or drying up
Step-by-Step Fixes You Can Try
1. Run the Printhead Alignment Tool
Most printers offer a built-in alignment tool under the Maintenance or Tools section in the settings menu. Follow the on-screen prompts to align the printhead and improve text placement.
2. Clean the Printhead Nozzles
If your prints look patchy or faded, run the printhead cleaning process. This clears dried ink that may be blocking the nozzles.
3. Choose the Right Paper Type
Make sure your paper matches what’s selected in your print settings. Using incorrect settings can affect ink absorption and color output.
4. Adjust Print Quality Settings
Go to the print dialog box and switch to “Best” or “High Quality” mode for image or photo printing. For normal documents, “Standard” is typically enough.
5. Check Cartridge Installation
Remove and reinstall the ink cartridges to ensure they’re securely fitted. Loose cartridges can cause printing misalignment.
Tips to Maintain Better Print Quality
- Use the printer regularly to prevent ink from drying
- Store your paper in a cool, dry place
- Keep your printer drivers up to date
- Clean internal components periodically (as recommended in your printer’s guide)
Want to Solve More Issues Yourself?
Print quality isn’t the only thing we can help with. At Easy Solve Hub, we provide simple, do-it-yourself guides for all kinds of printer issues—from connectivity errors to slow printing. Explore our blogs for reliable, easy-to-follow solutions.